You can taste it when you’ve brewed with the perfect coffee to water ratio.
The acidity pops every so slightly, enhancing the rich flavors and aromas. Your coffee’s mouthfeel is smooth and satisfying. And the flavor is just strong enough that you can sense all its nuances across your 10,000 taste buds, but not so strong that it’s uncomfortable.
It’s an incredible experience—and too often, a hard one to come by.
We’ll show you how to use the perfect coffee to water ratio every time so you can hit the flavor sweet spot. No more wondering “how much coffee should I add?”. You’ll get it right every time.
To get there, we’ll discuss:
- The golden coffee ratios for A+ flavor and balance
- Why you can’t always “just add more coffee”
- Measuring coffee by weight vs volume
Ready for “Oh, that’s good!” balance in every single cup?
Here’s What People Get Wrong About Coffee Ratios
If you’ve been brewing coffee for long, you’ve undoubtedly had a weak cup or two (it happens to everyone, even the pros!). For most of us, the gut reaction is to think, “If I just add more coffee, it’ll produce a stronger flavor.”
But that’s not exactly right—in fact, 50% of the time it’s actually the wrong choice!
Here’s why. Coffee brewing occurs over a series of stages:
- First come the tangy acids
- Then come the rich coffee flavors and aromas
- Then arrive the sweet sugars and smooth deep notes (stop brewing here)
- Then the extra bitterness shows up
Read: Sour Coffee 101: Why It Happens (+3 Ways To Fix It)
If your coffee tastes thin or weak, there are two possibilities:
- Your coffee is under extracted. Basically, each coffee ground didn’t get enough water to produce a full extraction, so it doesn’t taste “all there”. Adding more coffee will mean each individual ground gets even less water—that’ll mean each ground gets extracted less (it needs more). Adding coffee will make your coffee taste worse here.
- Your coffee is over extracted. Essentially, the dark and bitter compounds have overwhelmed all the sugars and interesting aromas—so all you taste is dull, boring coffee. Adding more coffee will mean each ground gets less water, which will reduce the extraction slightly for each individual ground, now that there’s less water to go around. Adding coffee will help in this scenario.
Confusing, right? But it doesn’t have to be.
Instead of worrying about whether you’re over or under extracting, then trying to figure out whether to add or subtract coffee… just use the Golden Ratio of coffee brewing.
It’s way, way simpler.
TL;DR of this section: don’t wing it by adding coffee—use the Golden Ratio instead.
Read: 3 Ways To Brew Stronger Coffee (Without Sacrificing Quality)
The Golden Ratios Of Coffee Brewing
We’re going to skip all the crazy science that goes into this calculation, but the Specialty Coffee Association concluded after years of research that these are the best coffee to water ratios out there for almost every coffee bean and coffee maker.
The Golden Ratio: 1 gram of coffee per 15-18 milliliters of water. We write this in shorthand as 1:15 to 1:18 (coffee to water).
Quick Tip: 1 milliliter of water is exactly 1 gram of water, so it’s common to not use ‘milliliters’ and just use ‘grams’ when talking about ratios, for simplicity’s sake.
So for every 1 gram of coffee, you want to use somewhere between 15 and 18 grams of water. If you’re in that range, you’re golden. Here’s how the ratios differ in taste:
- 1:15 tastes concentrated and bright (more coffee per water)
- 1:16 tastes smooth and bright
- 1:17 tastes smooth and rounded
- 1:18 tastes lighter and rounded (more water per coffee)
Next, let’s show you how to actually use these Golden Ratios to make a cup of coffee (it’s super simple!).
Read: Coffee Flavor 101: How to Taste Your Brew Like the Pros for Max Enjoyment
How To Brew With The Golden Ratios
Let’s brew a regular 8-ounce cup of coffee using the Golden Ratios.
There are two ways to do it.
- By Weight — Using grams to brew coffee is very precise, and extremely easy to do if you have a kitchen scale.
- By Volume — Volume measurements, like tablespoons and ounces, are less precise, but still work well if you don’t have a kitchen scale.
We’ll break down both methods—each one takes no more than 30 seconds.
Measuring Coffee By Weight
Step 1: Find the total grams of coffee you’re brewing.
One ounce of liquid is roughly 30 milliliters / 30 grams of liquid. So multiply 30 by the number of ounces you want to brew (8 ounces) to find your total liquid weight.
8 ounces of coffee * 30 grams = 240 grams total
Step 2: Divide your total liquid weight by your target ratio.
Choose your ratio between 1:15 and 1:18. Divide the total coffee weight by the water portion of the ratio (coffee:water) to find out how much coffee you need.
240 grams total / 15 water ratio = 16 grams of coffee
240 grams total / 16 water ratio = 15 grams of coffee
240 grams total / 17 water ratio = 14.1 grams of coffee
240 grams total / 18 water ratio = 13.3 grams of coffee
Step 3: Use your Golden Ratio!
You’re all set! Just use your total liquid weight and total coffee weight, and you’re successfully using a Golden Ratio.
Read: The Definitive List of Every Type of Coffee
Measuring Coffee By Volume
Step 1: Find the total volume of coffee you’re brewing.
8 ounces of liquid is exactly 1 cup of liquid. So if you want to make a single cup of coffee, measure out 1 measuring cup of water to brew with.
8 ounces of coffee = 1 measuring cup of coffee
Step 2: Measure out your coffee beans.
Per cup of coffee, you’ll want to use 3-4 tablespoons of whole coffee beans.
Use 3-4 tablespoons of coffee beans per 8 ounces of liquid coffee
Since not all coffee beans are the same density or size, measuring by spoons or scoops isn’t quite as precise. That’s why, when it comes to volume measurements, you can’t precisely choose between a 1:15 and 1:18 ratio—but you can get somewhere in-between. Trust your taste buds to decide if 3 or 4 tablespoons produces a better flavor.
Step 3: Start brewing!
Now you know exactly what you need to brew! Scale up as necessary.
8 ounces of coffee = 1 cup of liquid + 3-4 tablespoon of coffee beans
12 ounces of coffee = 1.5 cups of liquid + 4-6 tablespoons of coffee beans
16 ounces of coffee = 2 cups of liquid + 6-8 tablespoons of coffee beans
Read: Bitter Coffee 101: Why It Happens (+3 Ways To Fix It)
Forget Daily Math: Here’s How To Automate Your Ratios
You don’t want to do math every morning. That sounds exhausting… especially before you’ve had your morning brew. Instead, do this.
Write down 2-3 ratios you really like on a sheet of paper, then keep it next to your coffee station so it’s always accessible.
We suggest creating recipes for 1, 2, and 3 cups of coffee for most people. But if you’re brewing larger pots, there’s nothing stopping you from creating ratio recipes for 2, 4, and 6 cups.
When you have your favorite recipes, you can use them every single time without having to pull out the calculator. No more math. One and done.
Alternatively, Home Ground has developed a Coffee To Water Ratio Calculator in case you prefer to leave the math to the coffee nerds!
From that point on, you might never have to calculate coffee ratios again—but you’ll always be using the Golden Ratios anyway (and thus brewing balanced coffee!).
When In Doubt, Use A Coffee Maker That’s Not Finicky
There are a lot of coffee makers out there that don’t do you have favors when it comes to encouraging a balanced flavor. Make one mistake, and your precious cup is doomed!
(Not to mention, automatic coffee pots often don’t suggest you use Golden Ratios at all.)
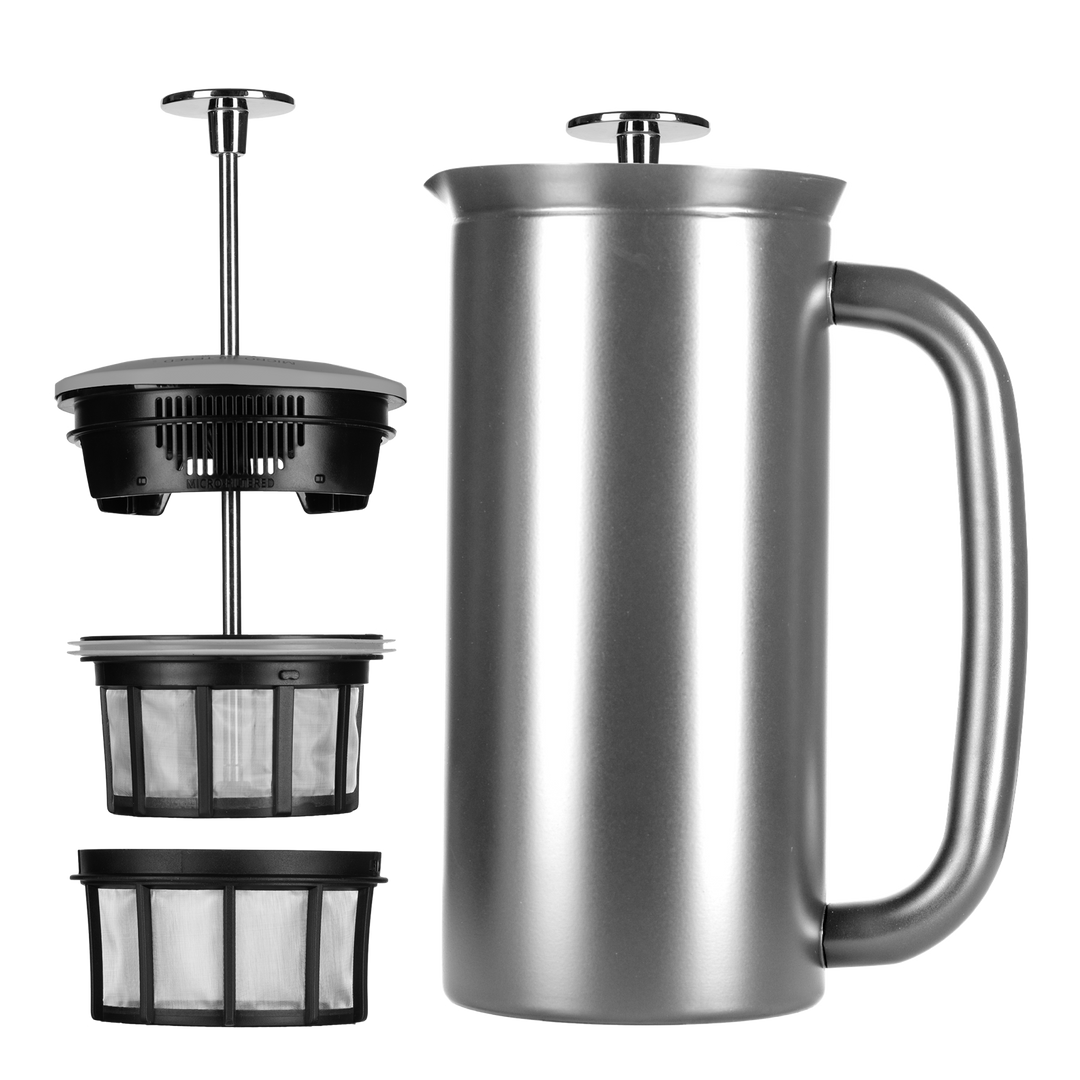
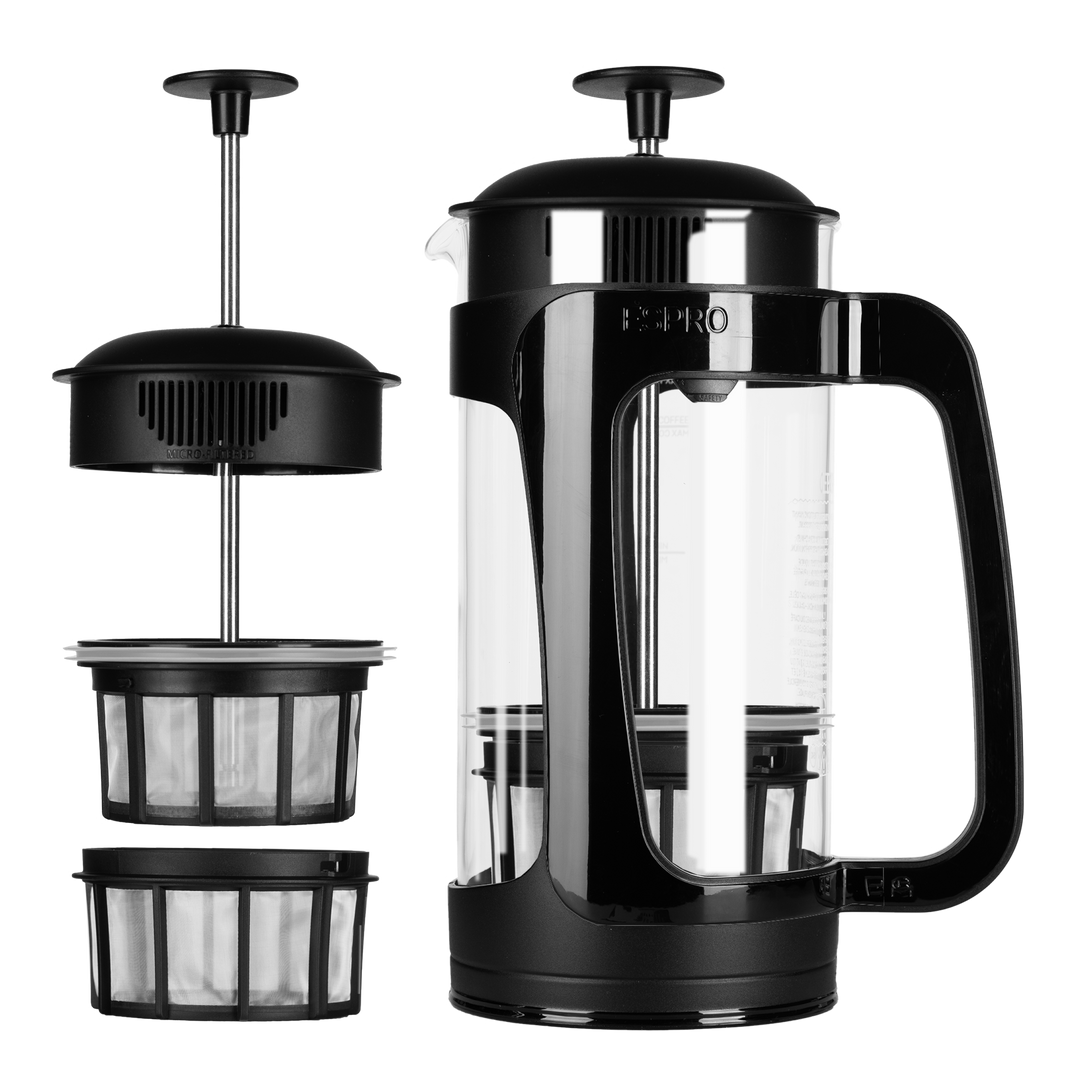
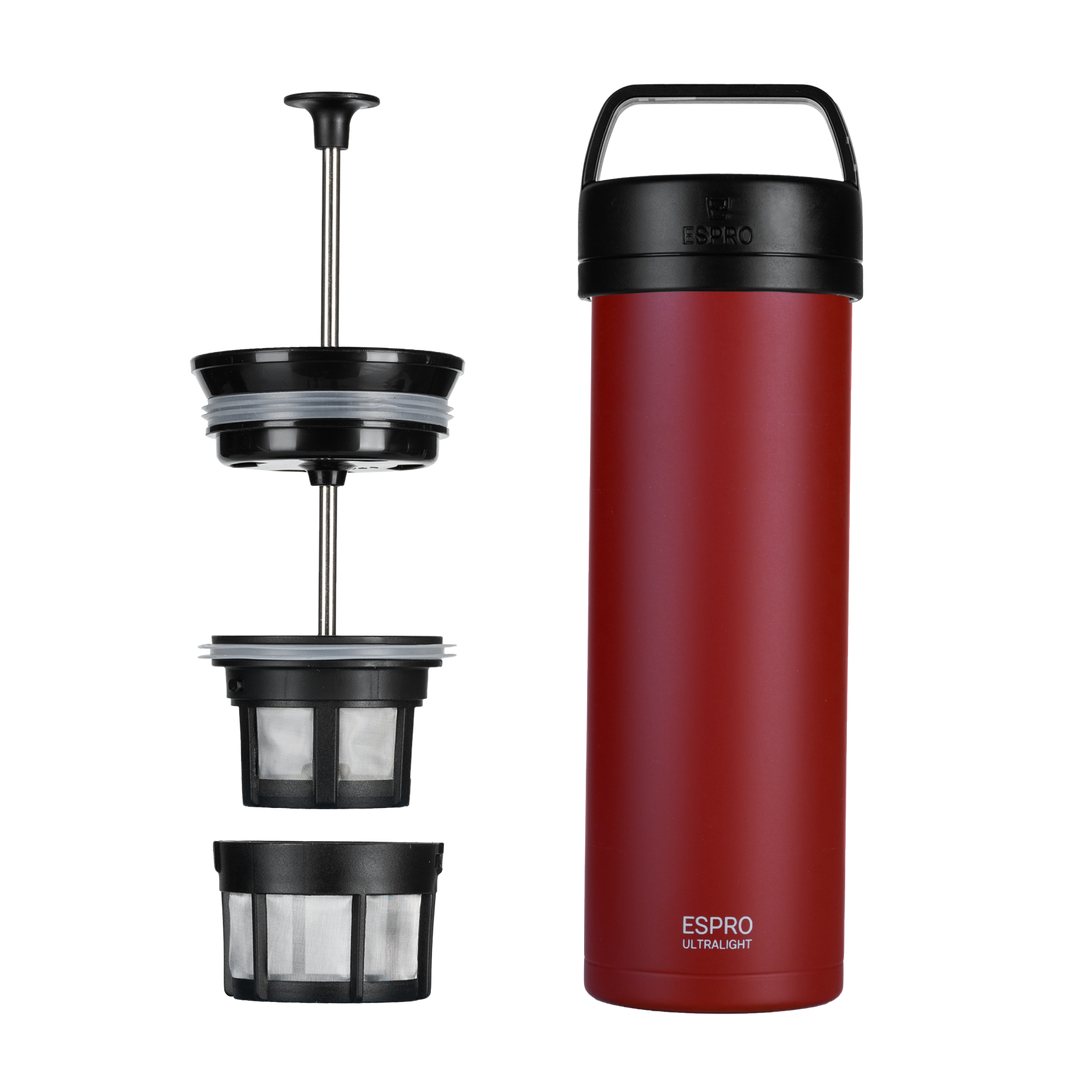
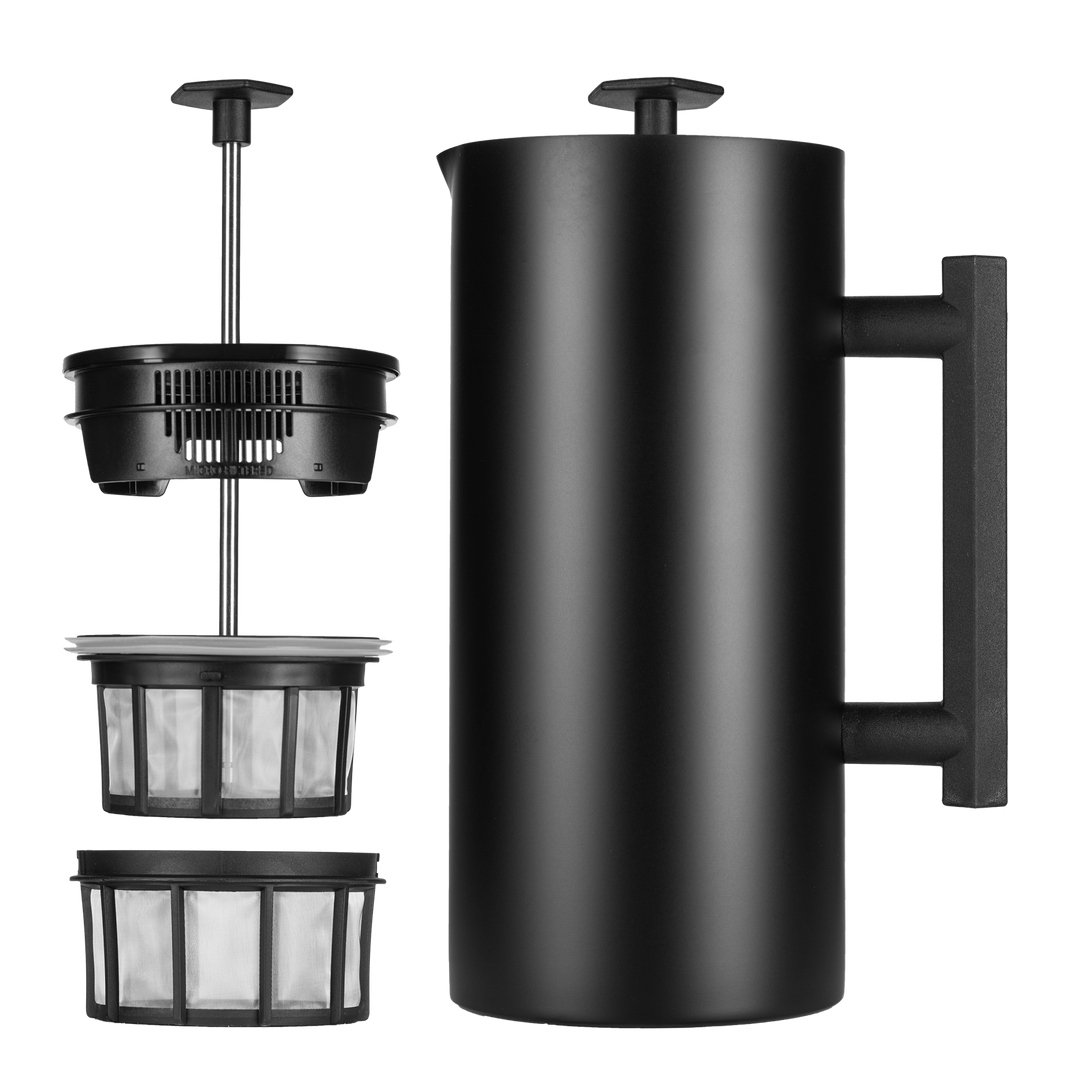
🙌 That’s why we create coffee makers that support balanced flavor, instead of hinder it.
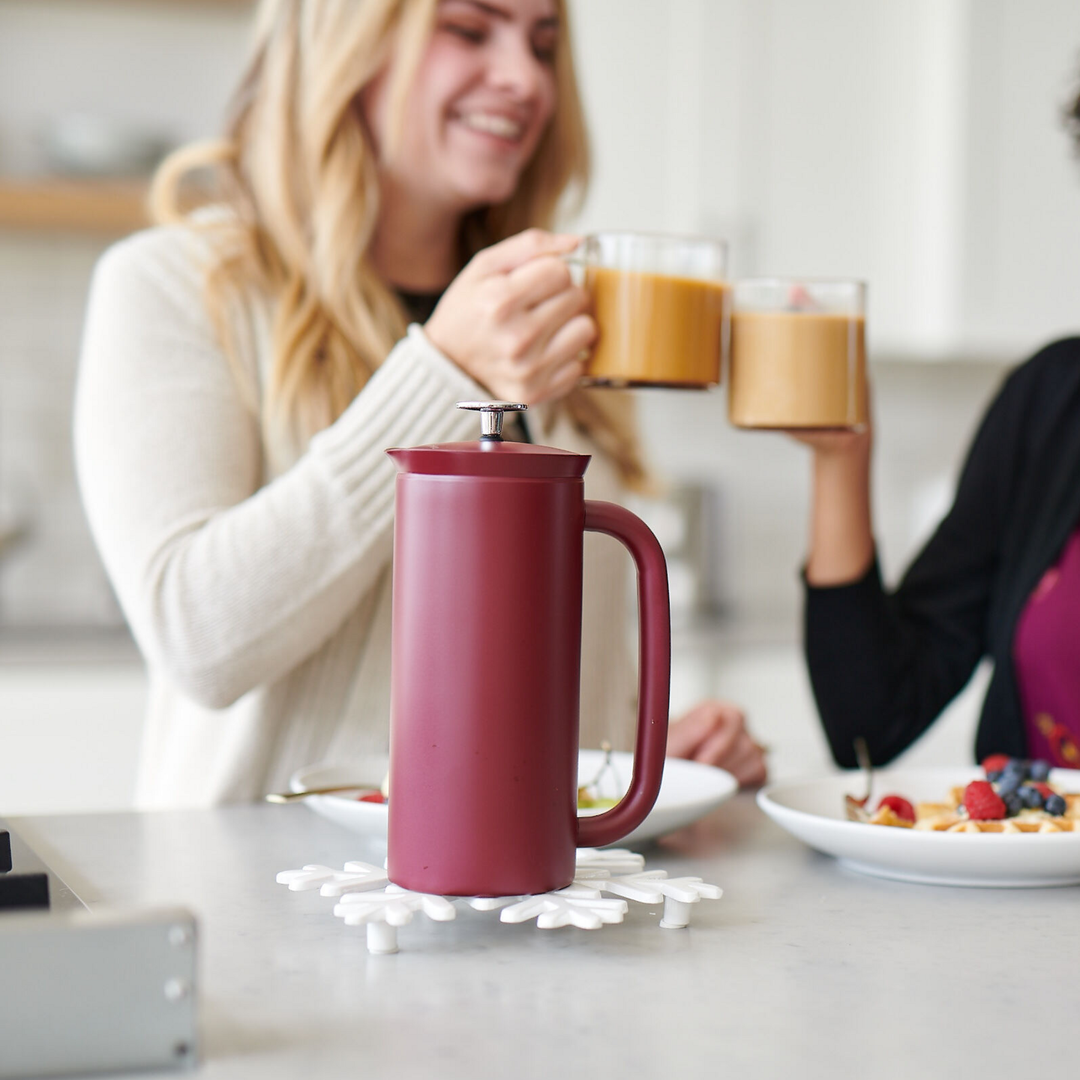
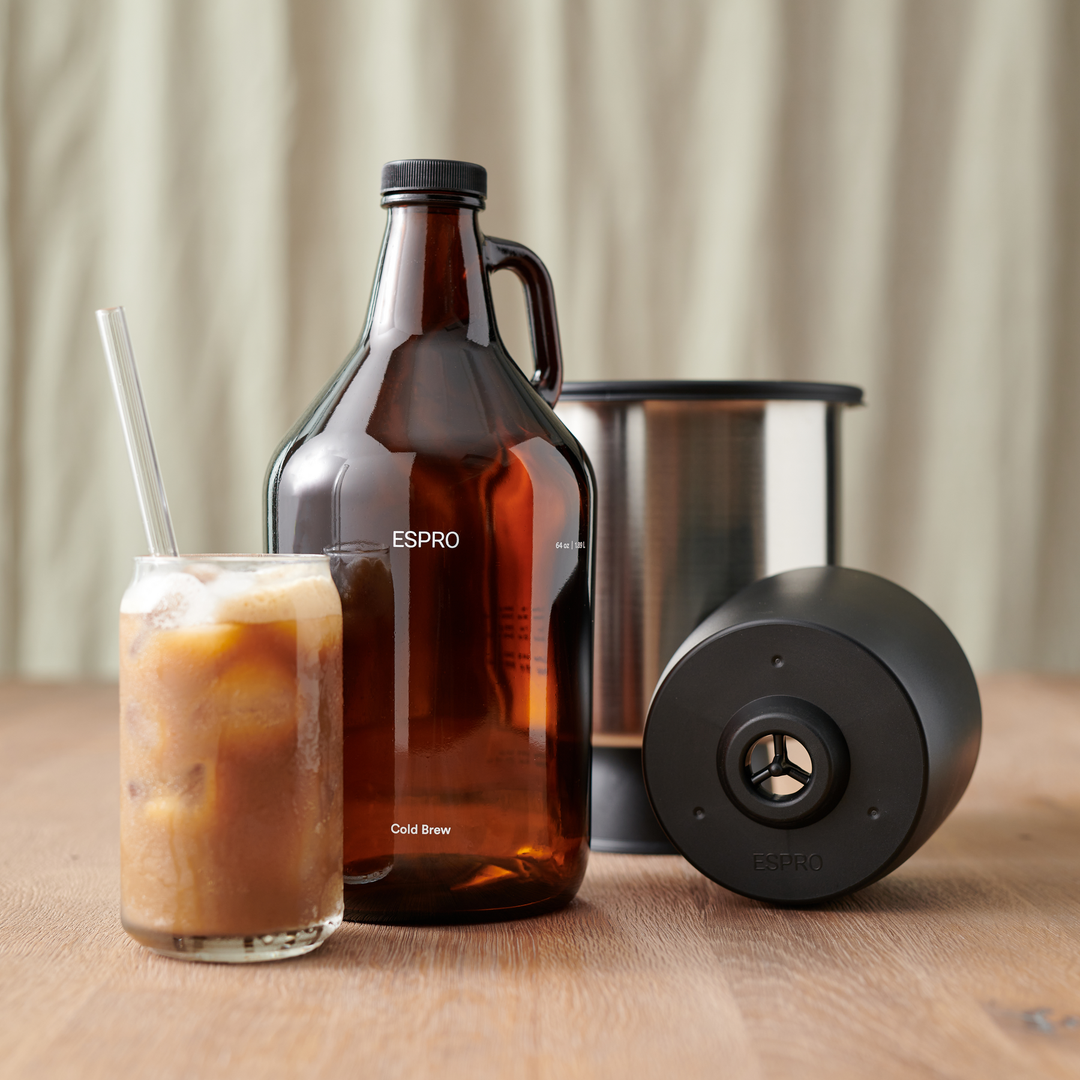
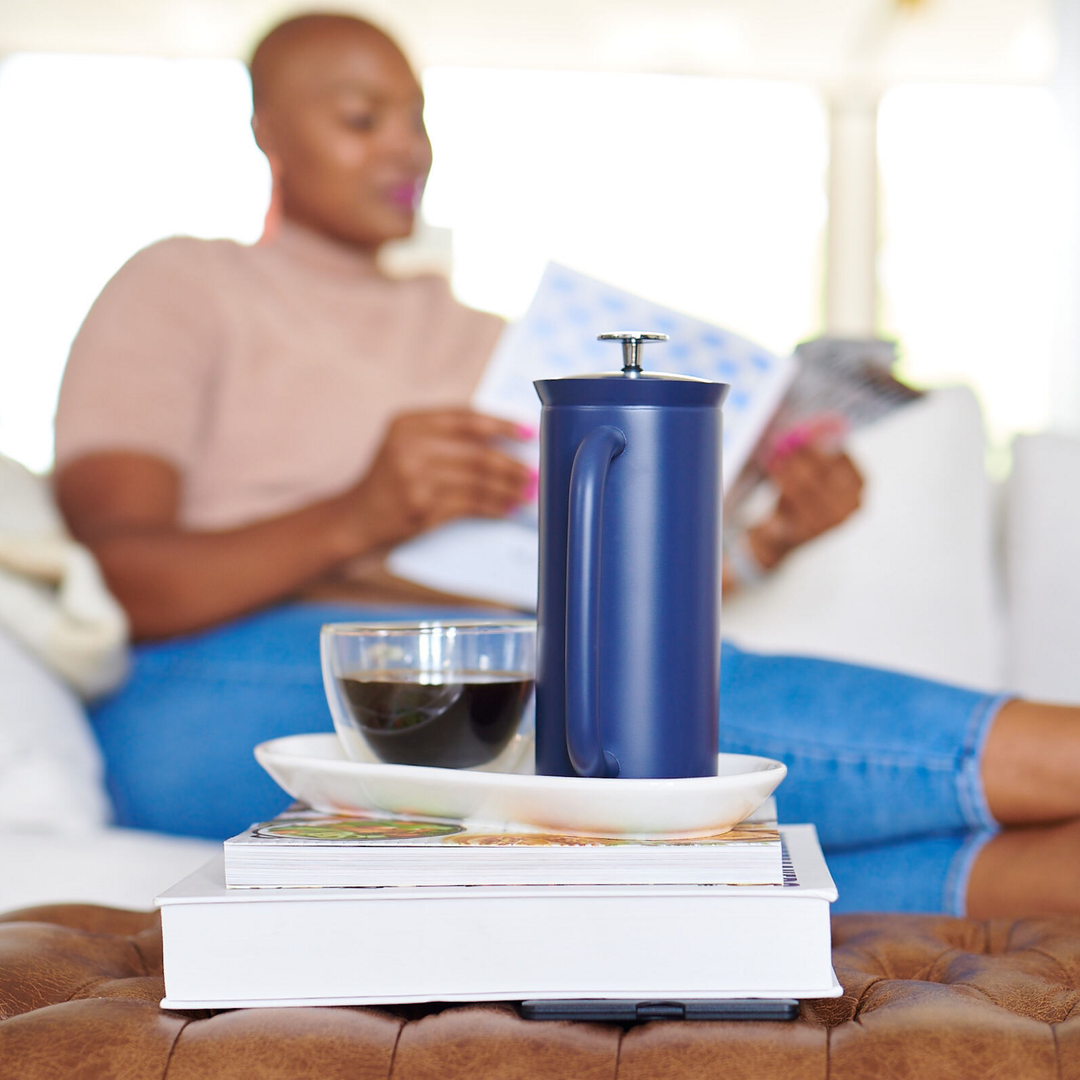
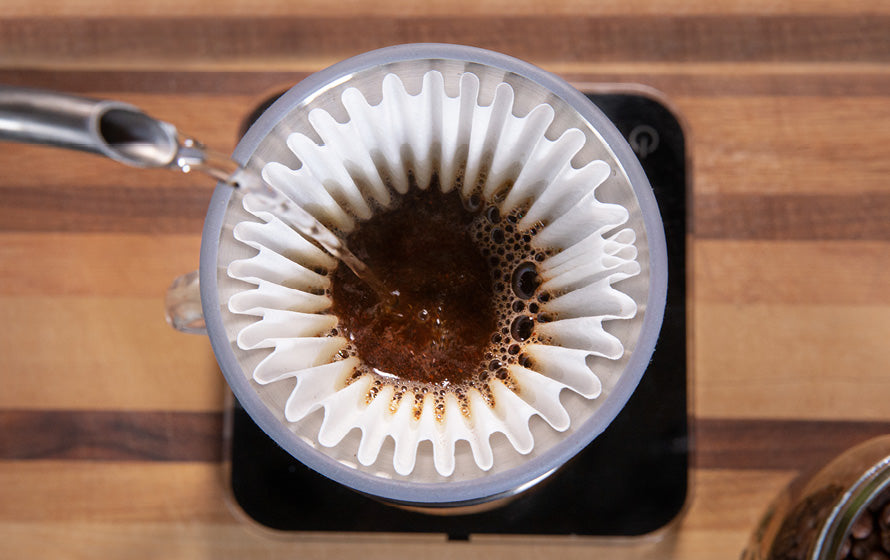
ESPRO brewers are inspired by classic coffee makers we all know and love—french press, pour over, and cold brew—but integrate modern design practices to encourage a balanced brew… even when you don’t get everything perfect while brewing.
Check our coffee brewers here and stop worrying about getting your technique and recipe perfect.